Creating an animation rig in Blender: Difference between revisions
(Added 'Textures on animated models' header) |
|||
| Line 73: | Line 73: | ||
'''Currently there is no option in OniSplit that would allow exporting animated models with textures.''' While you don't need textures for animating, they are very useful, particularly in case of Oni - the models are low detail to a point where you can lose sense of which direction elbows and knees are facing, if you don't have the textures on. | '''Currently there is no option in OniSplit that would allow exporting animated models with textures.''' While you don't need textures for animating, they are very useful, particularly in case of Oni - the models are low detail to a point where you can lose sense of which direction elbows and knees are facing, if you don't have the textures on. | ||
Because there is no option to export animated models with textures, '''the current workaround for that is to import an unanimated model with textures, then import an animated model,''' and either copy materials from the unanimated model to the animated one, or set the materials on the animated model manually. | Because there is no option to export animated models with textures, '''the current workaround for that is to import an unanimated model with textures, then import an animated model,''' and either copy materials from the unanimated model to the animated one (the faster method), or set the materials on the animated model manually. | ||
You will also most likely need to set shading settings on some body parts on the unanimated model to fix Alpha transparency issues (much like in XSI) - specifically connect the Alpha parameter of Base Color node to any parameter in Principled BSDF that will work, like Emission Strength (this should be set up differently as that's technically incorrect, but I don't know how at this moment). | You will also most likely need to set shading settings on some body parts on the unanimated model to fix Alpha transparency issues (much like in XSI) - specifically connect the Alpha parameter of Base Color node to any parameter in Principled BSDF that will work, like Emission Strength (this should be set up differently as that's technically incorrect, but I don't know how at this moment). | ||
Revision as of 12:51, 7 September 2021
Introduction
This tutorial shows you how to create the animation rig for Blender (made by geyser), with some improvements.
The purpose of this rig is to give us much better tools to animate, compared to our previous process in Softimage XSI by EdT, which allowed us to animate exclusively with Forward Kinematics. While FK may work for simple, short animations done on characters with a small amount of bones, it does not work well for Oni characters and animations, as it's too labor-intensive and inefficient.
Prerequisite tutorials
I highly recommend watching the tutorials below if you feel you're lacking knowledge in any of these subjects:
General Blender basics:
Blender Character Rigging overview showing that you can create a Rigify rig in less than a minute at 5:43, and also rig a character while at it:
Basics of using Rigify:
Rigify Bone Groups and Layers:
- Rigify Tutorial 7-1: Rigify Bone Groups and Layers (Overview) by CGDive
- Rigify Tutorial 7-2: Rigify Bone Groups and Layers (Practice) by CGDive
- Rigify Tutorial 7-3: Rigify Bone Groups and Layers (Advanced) by CGDive
Changing Rigify Custom Shapes and Widgets:
- Rigify - Custom Shapes/Widgets by CGDive
Blender custom properties and drivers (drivers are used to set the influence of a rig's bone constraints through the Pose1 and Pose2 bone locations):
- Custom properties and drivers in blender made easy by Pierrick Picaut
Tracking constraint tutorials
These explain constraints like Damped Track which are used by Rigify – you can skip this if you want, but it might explain a thing or two, or come in handy in the distant future; other than that, you don't need to know them to animate for Oni:
- Tracking Constraints - Blender 2.80 Fundamentals
- Camera Track To vs Damped Track Constraints | Pros & Cons Explained With Examples | Blender by 5 minutes Blender
Things to know before starting
There are several things worth knowing before you start creating the rig.
Tools and relevant tutorials
Rotation order issue between Oni and Blender
The previous XSI process allowed us to get to work pretty quickly: you could simply export any animation from Oni as a COLLADA file using OniSplit, then import it to XSI and it would work (mostly) without any quirks. That is not the case with Blender.
If you import any Oni animation into Blender as it is, the rotations will be all wrong.
That's because Oni's rotations are stored in XYZ Euler rotation order, while Blender's XYZ is actually ZYX despite being called "XYZ".
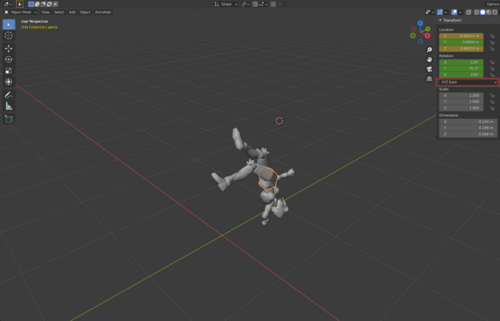
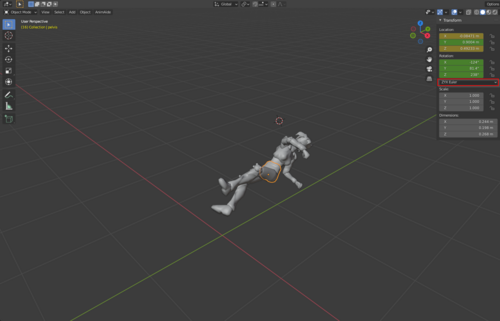
You can prove that by simply switching the rotation order of the body parts from XYZ to ZYX, as shown below – the image on the left shows KONCOMcomb_p imported to Blender without any adjustments, with the rotation order set to Blender's default "XYZ", while the image on the right shows the same animation after switching the rotation order to ZYX.
| KONCOMcomb_p in Blender's XYZ | KONCOMcomb_p in ZYX |
|---|---|
|
|
Because of this, geyser implemented the -blender argument in OniSplit, which solves this problem by converting Oni assets' rotation order from XYZ to Quaternions and then to ZYX, and vice versa when exporting assets from Blender to Oni. So that conversion flow looks as follows:
- From Oni to Blender:
XYZ → Quaternions → ZYX
- From Blender to Oni:
ZYX → Quaternions → XYZ
To summarize: Always use the -blender argument when you're exporting assets from Oni to Blender, otherwise you can expect the problem shown in the above screenshots.
Textures on animated models
Currently there is no option in OniSplit that would allow exporting animated models with textures. While you don't need textures for animating, they are very useful, particularly in case of Oni - the models are low detail to a point where you can lose sense of which direction elbows and knees are facing, if you don't have the textures on.
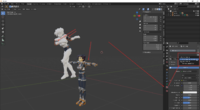
Because there is no option to export animated models with textures, the current workaround for that is to import an unanimated model with textures, then import an animated model, and either copy materials from the unanimated model to the animated one (the faster method), or set the materials on the animated model manually.
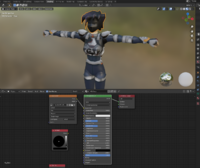
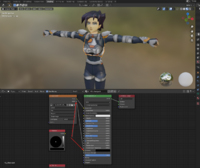
You will also most likely need to set shading settings on some body parts on the unanimated model to fix Alpha transparency issues (much like in XSI) - specifically connect the Alpha parameter of Base Color node to any parameter in Principled BSDF that will work, like Emission Strength (this should be set up differently as that's technically incorrect, but I don't know how at this moment).
| Konoko upon importing to Blender | Fixed transparency | Copying materials | Setting materials in Shading |
|---|---|---|---|
